 rt.com
- RT versions:
- روسيا اليوم
- Noticias
- Инотв
- RTД


How to Install the Cyrillic Keyboard for Windows 7 on Your System
Activate the Cyrillic keyboard for Windows 7 layout by following these steps:
1.
You must first install the Russian Language Pack. In a new window open Windows Update "Start" → "Control Panel" → "System and Security" → "Windows Update"
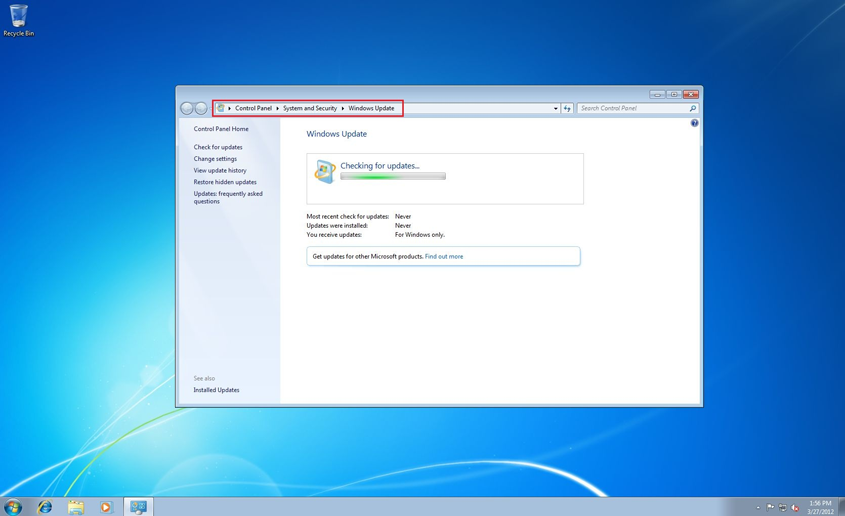
2.
Click on "Check for update".
Wait until the update process finishes and click on "optional updates are available".
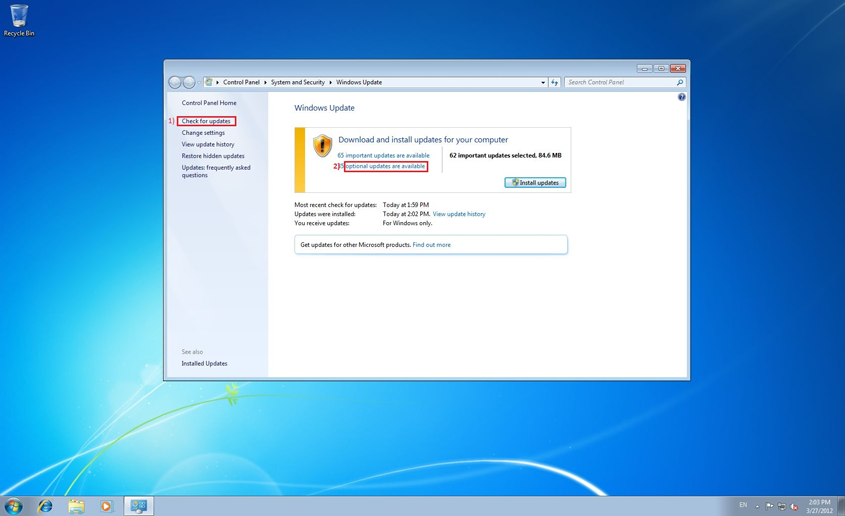
3.
In the new window that opens find the "Russian Language Pack –Windows 7 Service Pack 1 (KB2483139)" update.

4.
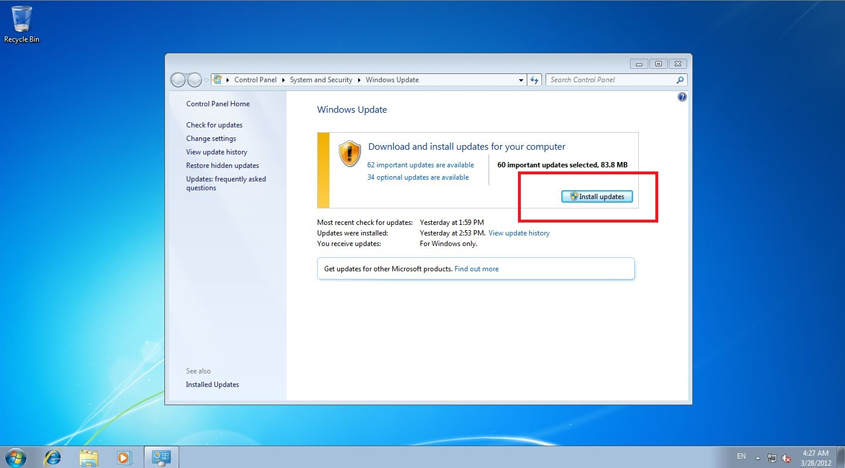
The next step to activate the Cyrillic keyboard for Windows 7 is to install the update. For that, check the empty box next to it and click "OK".
5.
Click on "Install update".
6.
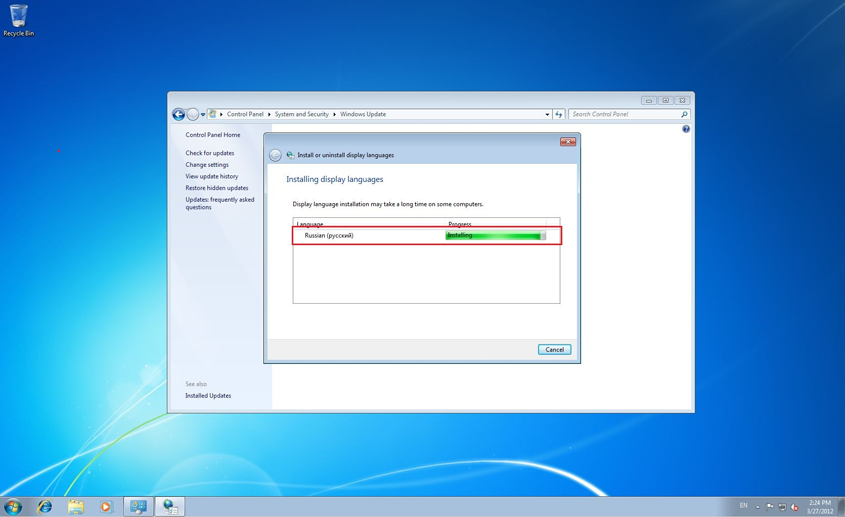
Wait for the installation process to complete.
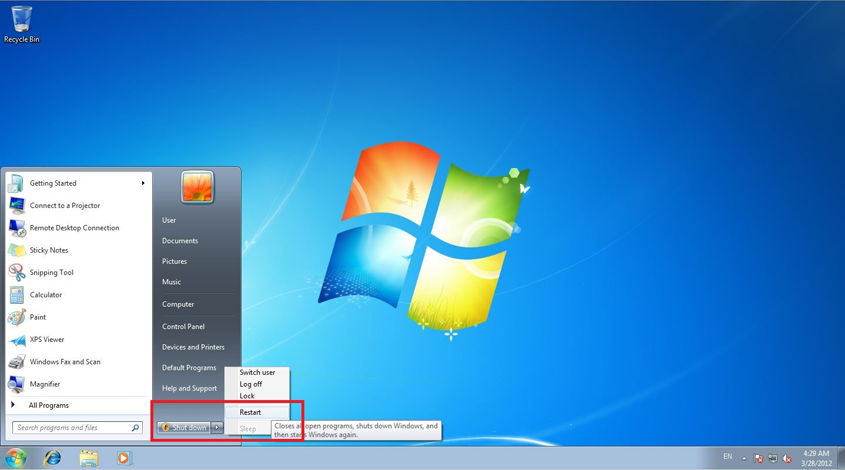
7.
Restart your computer. "Start" → "Shut down" → "Restart".
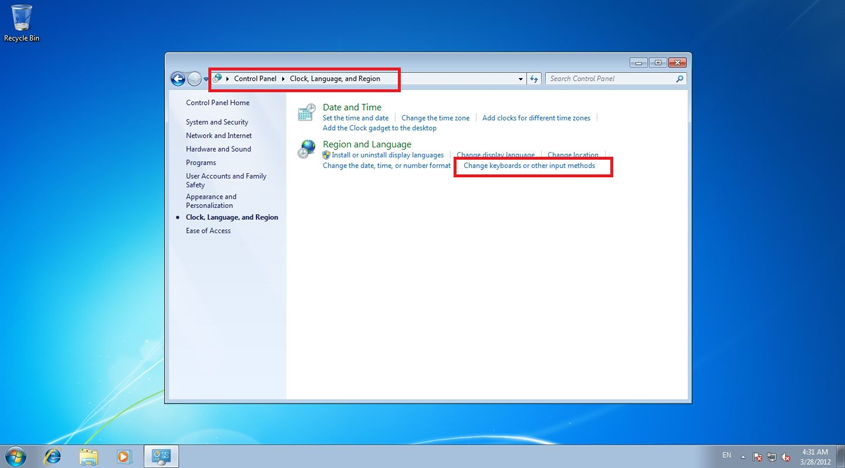
8.
You are just one step away from activating the Cyrillic keyboard for Windows 7! Go to your Regional Settings. "Start" → "Control Panel" → "Clock, Language, and Region" and click on "Change keyboards or other input methods".
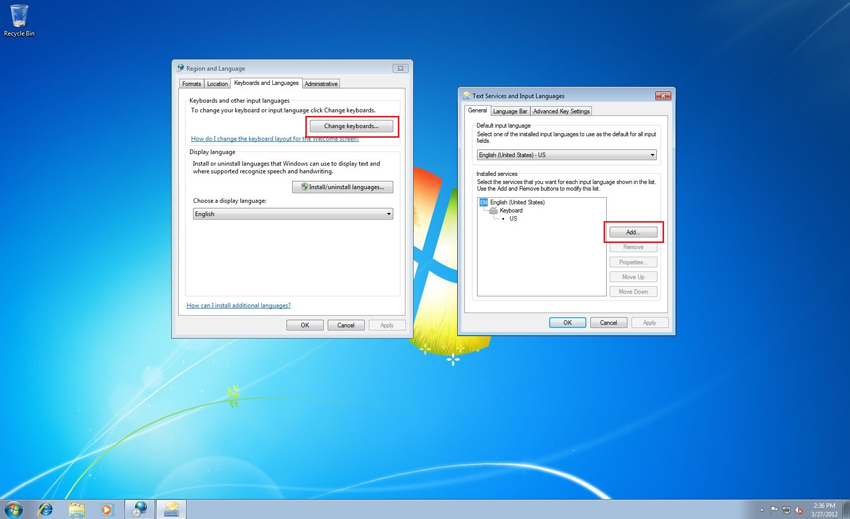
9.
In the new window that opens click on "Change Keyboards". In the new window that opens click on "Add…"
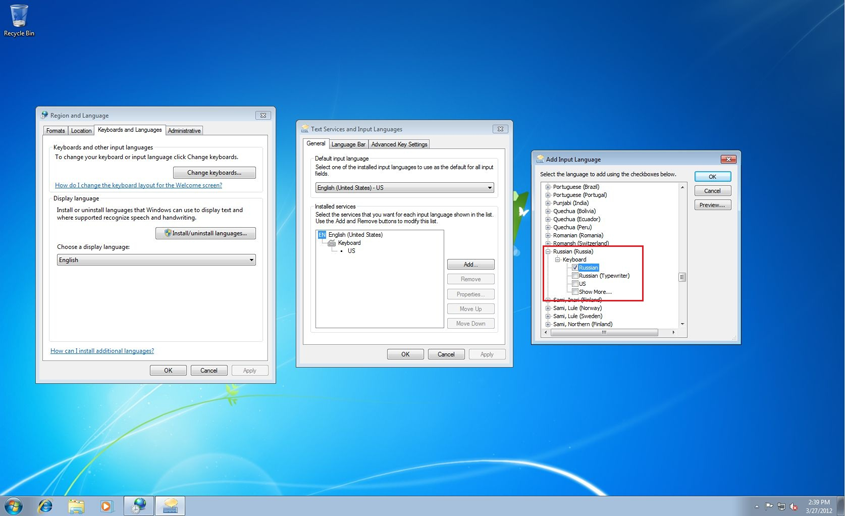
10.
Activate Russian (Cyrillic keyboard for Windows 7) layout. "Russian" → "Keyboards" → "Russian".
If your keyboard doesn’t have Cyrillic letters on it, you can use the virtual keyboard instead. For that, go to "Start" → "All Programs" → "Accessories" → "Ease of Access" → "On-Screen Keyboard".
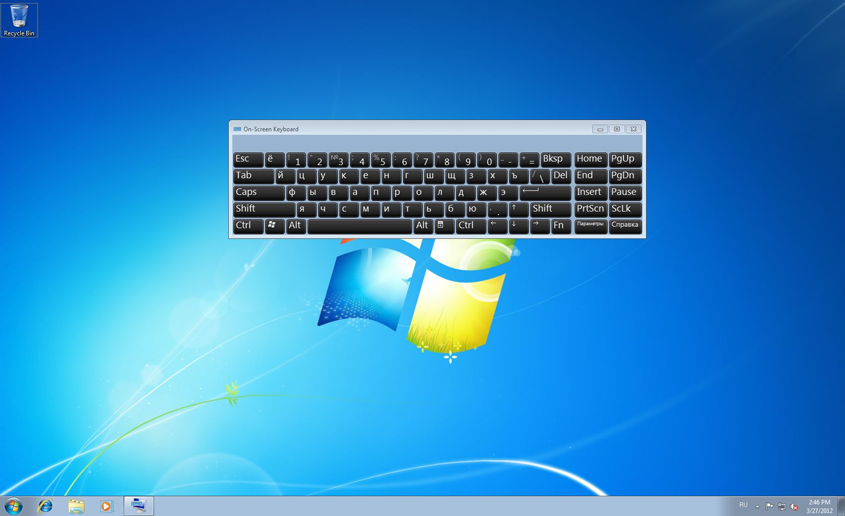
You can switch between the languages just like you would do on a fixed keyboard.
The installation of the Cyrillic keyboard for Windows 7 is now completed! You are now ready to use the Cyrillic keyboard for Windows 7 on your computer.
P.S. If you can’t install the Russian Language Pack with the help of "Windows Updater", try to install it manually - see how to do it HERE!


- Legal disclaimer
- Feedback
- Contact us
- What it is all about
- Words in pictures
- © Autonomous Nonprofit Organization "TV-Novosti", 2005 – 2020. All rights reserved.